In this post, I will show how to filter (display/hide) the Entity List Action options based on the record data with a Fetch XML filter:
Create an Entity List record – I am creating a simple entity list pointing to the Active Contacts view
Create an Action to your Entity List
I am creating a simple Workflow (On-Demand) to send an e-mail to the contact
Create a Web Page record to show the record Details
This will be a Details action
At this moment, if you test your Portal, you will see the two options available in the Action menu for each Item:
Now I want to make a validation against the record to filter my actions, in my case, as an example I will make the following validation:
If the Contact’s email field is empty
Hide the “Send e-mail” option
In the Entity List record, go to the Actions under Grid Configurations, select Advanced Settings and add a Fetch XML in the Filter Criteria (the Fetch XML must contain the header/basic structure, not just the filter):
Currently in Power Apps Portals, we can’t set a mask for a field, which usually improves a lot the UX. In this post I will show you how a simple example to achieve that using JavaScript/jQuery.
In my case, I am adding a whole number field to the Profile page/form.
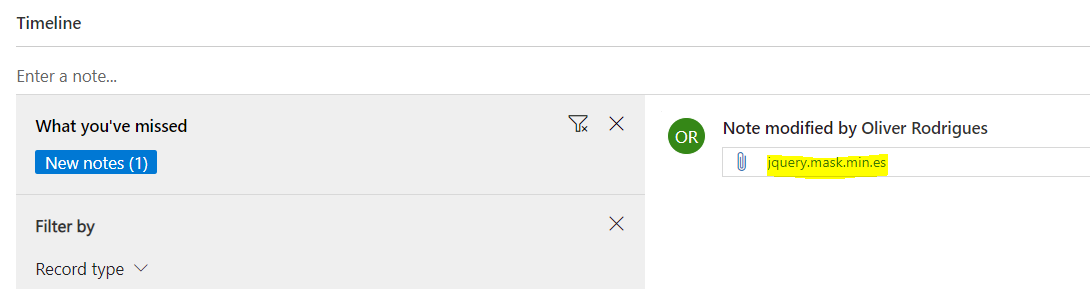
Download the plugin and locate the jquery.mask.min.js file under the “dist” folder
Create a Web File in your CDS environment
Note that by default you can’t upload a .JS file, I am going to rename the file to .ES to bypass this validation (you can also change your environment settings but this is not recommended) – but keep the Partial URL as .JS
I am going to set the parent page as Home
I am going to set it to be hidden from site map and excluded from search
Adding JS library reference
We need to reference the JS, open your Web Page (content page) and add the following to your HTML “copy” field:
You can also add the above line to the “Tracking Code” Content Snippet, and this would be loaded in every page, in my example this JS would only be loaded in the Profile Web Page.
Adding the mask via JavaScript / jQuery
Still in your content page, navigate to the Advanced tab and add the following code:
Above I am using a placeholder to indicate the user what the expected format is, but this is optional, I could have the mask just as: $(“#ollie_wholenumber”).mask(“00000”);
Power Apps Portals provides us with very quick and simple ways to expose data from the D365 system into an external portal. Often, we have requirements to export or print the data using current Word Templates present in D365, but unfortunately there is no OOB feature (currently) for performing this task.
In this post, I will describe what is available using the OOB configuration from the portal, and how to extend it in order to export the data in the application. The idea of this post is not explain the Portal objects (Web Template, Entity List etc), you can find content on the Power Apps Portals on the following link: https://docs.microsoft.com/en-us/dynamics365/portals/configure-portal
For this demo, we will be using the following setup:
Power Apps Portals Starter (Version 9.2.2.15)
Before going to the step-by-step, below you can see what we will be achieving by going through the end of the post:
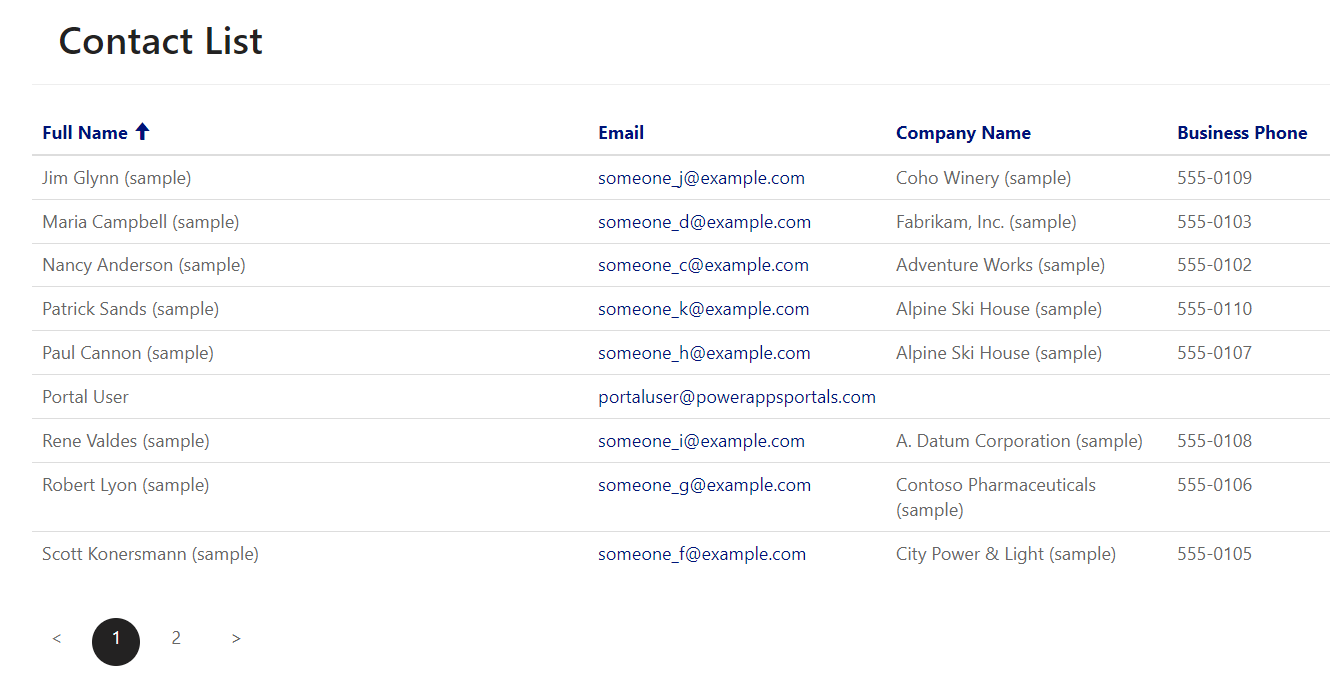
As a starting point, we will create an Entity List and Web Page record to present a list of the Active Contacts:
This is how the list will be rendered by default in your Portal page:
For Entity List records, we have the option (OOB) to add an Export to Excel button, this can be achieved by:
Open your Entity List record
Navigate to tab Options
In the Grid Configuration add a “Download” action and add a label
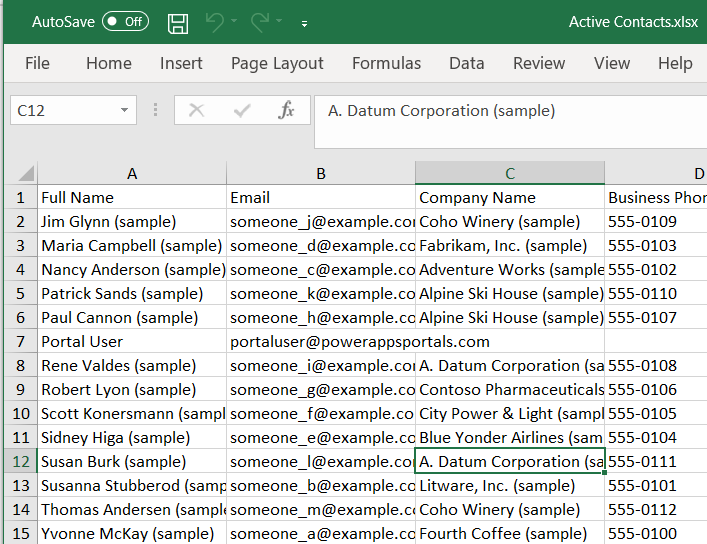
This is how the button is shown on the Portal, and once clicked, you will download an Excel file with the list content:
Unfortunately, this excel file is rendered just like our Advanced Find Export to Excel feature, which is not bad, but usually when we have a Website, we (and our customers) want this information to be presented in a friendlier way.
So now, we are going to the fun part, let’s extend this by creating our custom “Print Button”, which will use the standard JavaScript function to print a Page.
Now create a new Page Template and Web Template and make sure to associate the new Page Template to your existing Web Page:
For the Web Template record, I basically copied the content from the OOB Web Template “Full Page” and removed a few lines, leaving only the condition that will render the Entity List.
At this moment, nothing has changed and our Web Page is behaving exactly the same way as before.
Now, we are going back to our recently created Web Template, and add the following:
Give a name for the Div that is holding your Entity List
Add the Button for printing (outside the div)
Add the JavaScript code that will actually perform the printing (in the .JS code, I am actually creating a new HTML document, so we need to reference the .css here)
What I am also going to do, is add a new hidden DIV in the page with a custom logo (just create a Web File and upload your Logo in the notes), we can play around with showing/hiding the DIVs as we want in the JavaScript function, just make sure to set it up back to normal before the user closes the print window.
Add DIV with logo inside your print DIV
Show the Logo before setting the HTML content, also hide the Command Bar which will contain your Search Box / View Selector / Create or Download button (in case you setup any of those)
After setting the HTML Content, Hide the Logo and show again the Command Bar
In the top of the HTML, before the <head>, add:
Now we have our Logo being shown only for the printed window, and we have the same layout as the Portal webpage.
The following is the final code for the Web Template:
You can also use the same implementation to any other Web Page in your Portal, this way you can, for example, create a custom Web Template for your entity, displaying the information the way you need and add the Print button, showing and hiding anything on the Web Page if required, like logos, sensitive information, etc.
Maybe in the future Microsoft provides us a way to export using Word or Excel templates, which would be a very nice feature.
I hope this post has been helpful to you and your Power Apps Portals implementation.