
When creating a page containing an Entity List (or just List) in Power Apps Portals, it is very common to add a details page so users can drill-down to the records details.
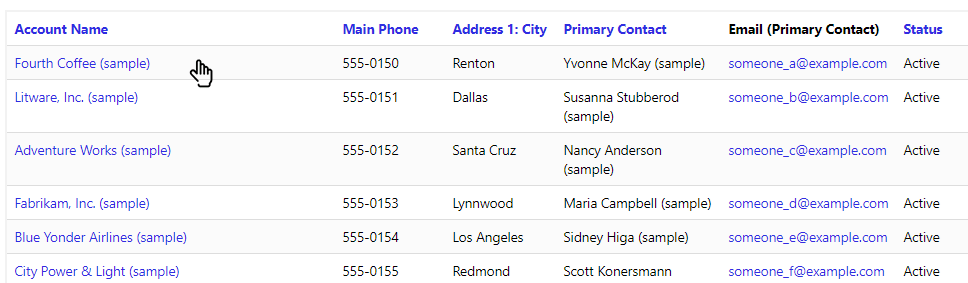
The list is represented as below example:

By default, the first column contains the link to the details Web Page as well as the action menu on the right dropdown.
In this post, I will share two options for JavaScript/jQuery code to make the entire row clickable.
Solution 1 – Making each cell clickable
In this example, we will perform the following:
- Loop through the list, retrieving the URL for record details each row
- Then we will loop through each individual cell, and attach an <a> element to represent the link
- The code also needs to ignore the TD containing the dropdown (optionally this can be removed)
SetLinkAllCells = function () {

    var entityList = $(".entitylist.entity-grid").eq(0);

    entityList.on("loaded", function () {
        entityList.find("table tbody > tr").each(function (index, tr) {

            var primaryColumn = $(tr).find('td')[0];

            /// or retrieve column by name
            /// var primaryColumn = tr.find('td[data-attribute="name"]');

            var url = $(primaryColumn).find("a")[0].href;
            console.log("URL: " + url);
            if (!!url) {
                $(tr).find('td').each(function (index, td) {
                    /// ignore action menu / dropdown
                    if ($(td).attr("aria-label") == "action menu")
                        return;

                    var cellValue = $(td).text();
                    /// clear td value
                    $(td).text("");
                    var newElement = '<a href="' + url + '" class="details-link has-tooltip" data-toggle="tooltip">' + cellValue + '</a>';
                    $(td).append(newElement);
                });
            }
        });
    });
};

Solution 2 – Making the table row clickable
In this example, we will perform the following:
- Loop through the list, retrieving the URL for record details each row
- Attach a new function to the click event of the row, redirecting the user to the URL
- Remove the action menu, as this will also be triggered on the row click event
- Set the cursor to pointer for better UX
SetLinkAllRow = function(){
    var entityList = $(".entitylist.entity-grid").eq(0);

    entityList.on("loaded", function () {
        entityList.find("table tbody > tr").each(function (index, tr) {

            var primaryColumn = $(tr).find('td')[0];

            /// or retrieve column by name
            /// var primaryColumn = tr.find('td[data-attribute="name"]');

            var url = $(primaryColumn).find("a")[0].href;
            console.log("URL: " + url);
            if (!!url) {
                $(tr).css("cursor","pointer")
                // remove menu dropdown
                $(tr).find('td[aria-label="action menu"]').remove();

                $(tr).click(function(){
                    window.location.href = url;
                });
            }
        });
    });
};
Now all we need is to use the preferred method:
$(document).ready(function () {
    //SetLinkAllRow();
    // or
    //SetLinkAllCells();
});
Conclusion
Each method might suit different needs, you might also consider ignoring cells that already contain a clickable value, for example e-mail address or phone number columns.
Also if your action menu contains several actions, such as delete / start a workflow, etc, the solution might need a bit of a tweak.
In general, this can be a quick win to improve UX in your Power Apps Portals implementation.
